Description
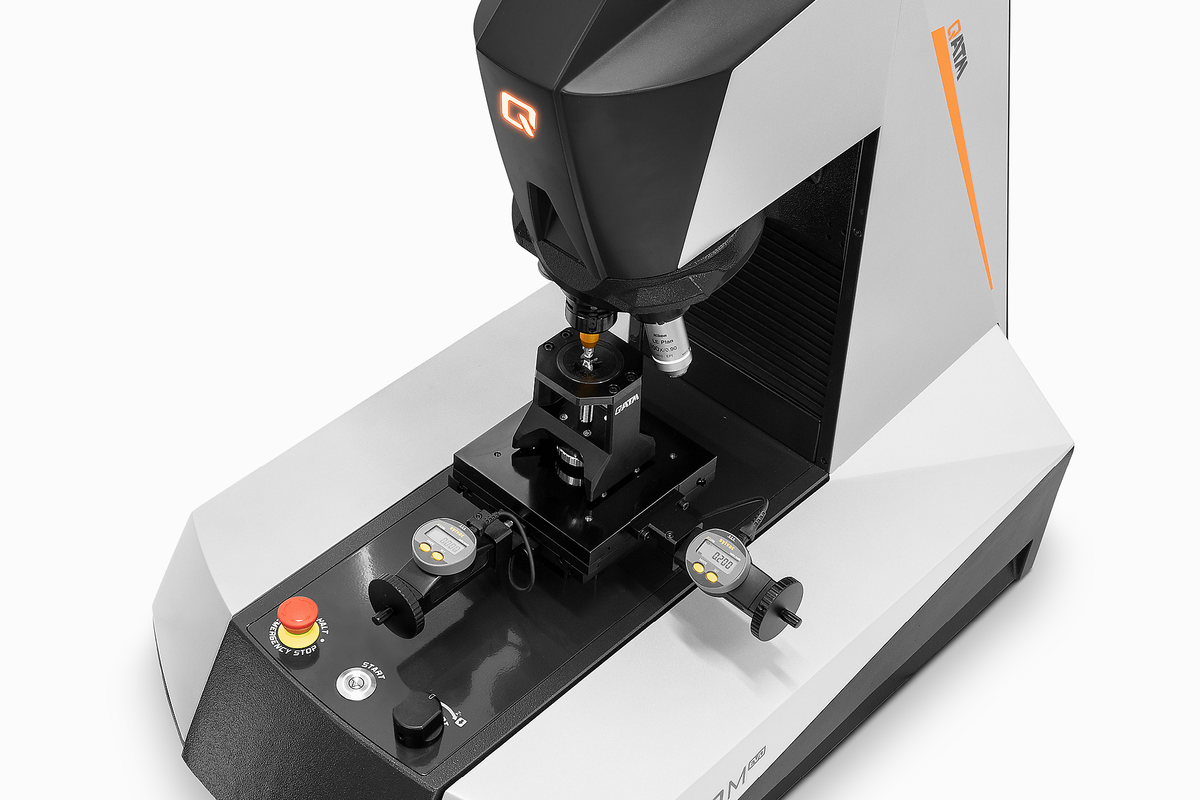
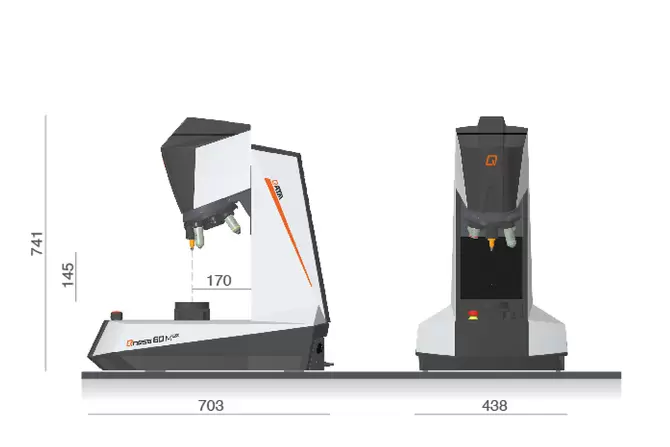
The Vickers / Knoop / Brinell hardness tester series Qness 60 EVO takes micro hardness testing to a whole new level: the high-end laboratory devices of the latest generation combine the best of both worlds – hardness testing and microscopy without compromise and with maximum operating convenience. The revolutionary optical system with color camera provides reproducible and reliable results every time.
The „M“ model is operated manually and offers excellent flexibility for single-piece testing and materialographic analysis of components of any size. This version is ideally suited when a high-quality testing device for is required for low sample throughput.
- Wide test force range (0.25 g – 62.5 kg)
- ASTM+DAkkS certified Vickers diamond included
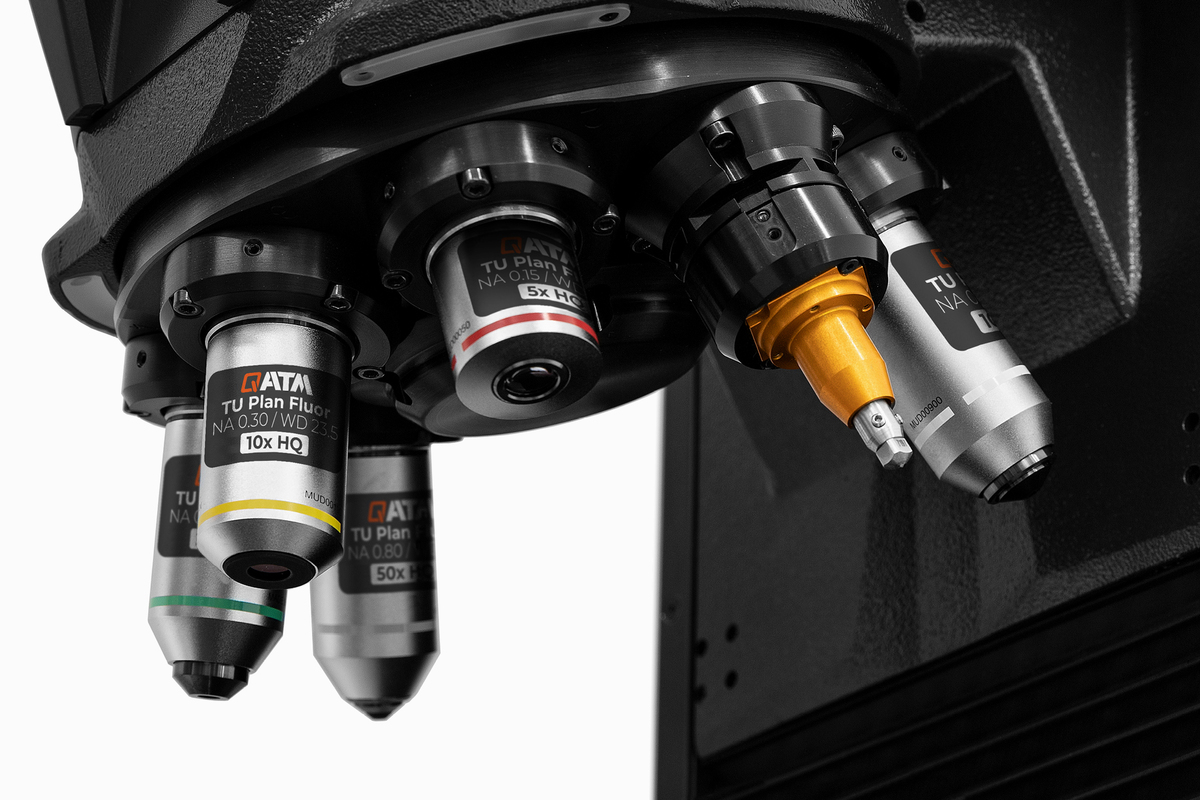
- Dynamic test turret with 8-position tool changer
- White LED light with motorized aperture shuttering
- Qpix Control2 M Software including INSPECT microscopy features
- Extendable with manual XY cross slide
- Digital XY cross slide with data feedback
Hardness Testing
Unlimited options
- Hardness testing module with a force range of 0.25 g to 62.5 kg as standard – including ASTM & DAkkS-certified Vickers test diamond
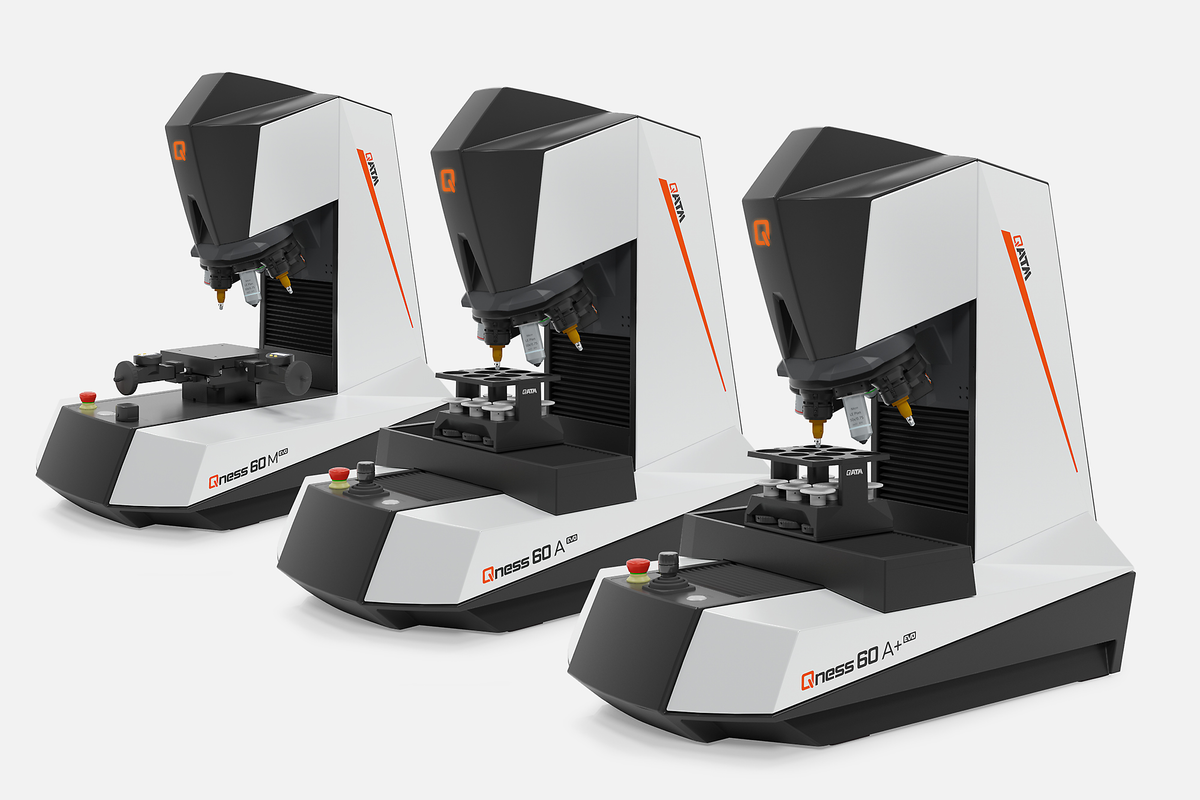
- 3 versions – from semi-automatic application (M) to full automation (A/A+)
- Solidly-built machine – ‘Made in Austria’
- Variably-structured, vibration-reducing cast body with frame in anodized aluminum.
- Fully automated test cycle: Electronic force appplication and closed-loop control
Vertical concept with 2 Z-axes
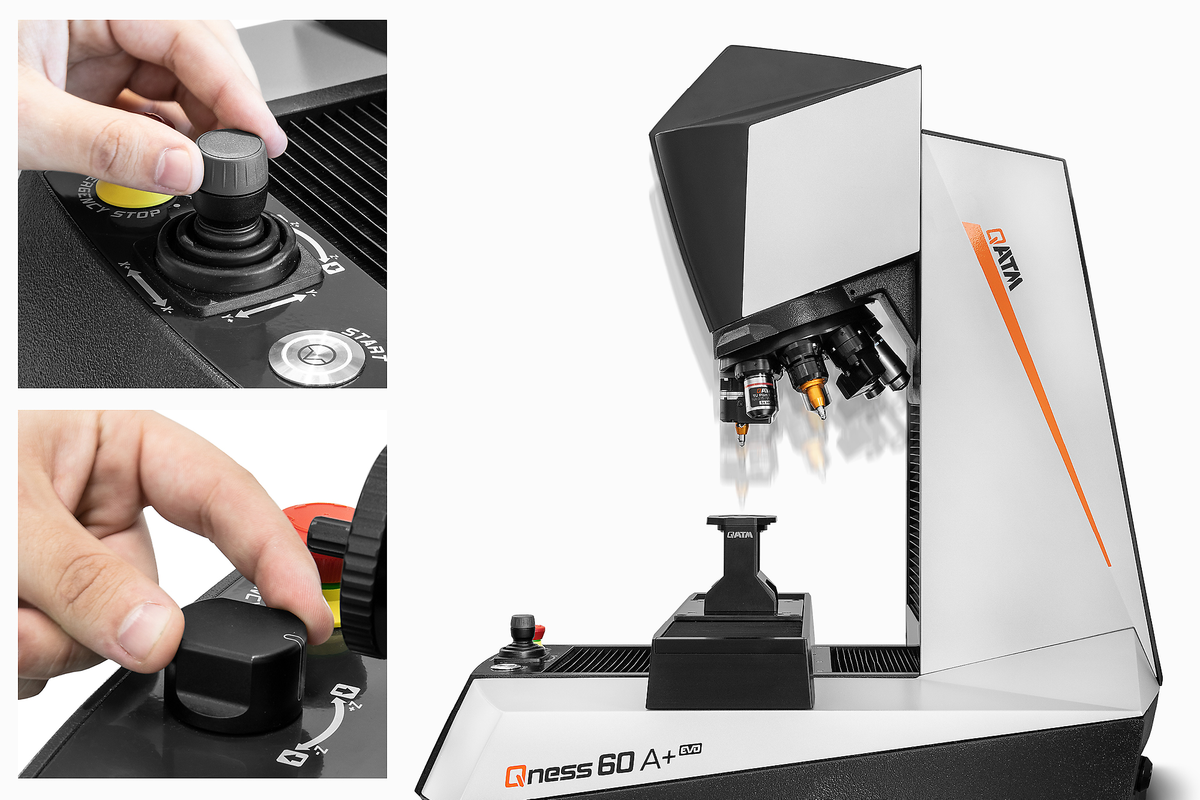
There are decisive benefits in distributing vertical movement across 2 axes. Via the first Z-axis there is dynamic motion control, allowing the indenter to be positioned towards the test surface quickly and conveniently at up to 30mm/s. The additional second Z-axis in the QATM system offers a high-resolution positioning system for greater precision in force application and focusing.
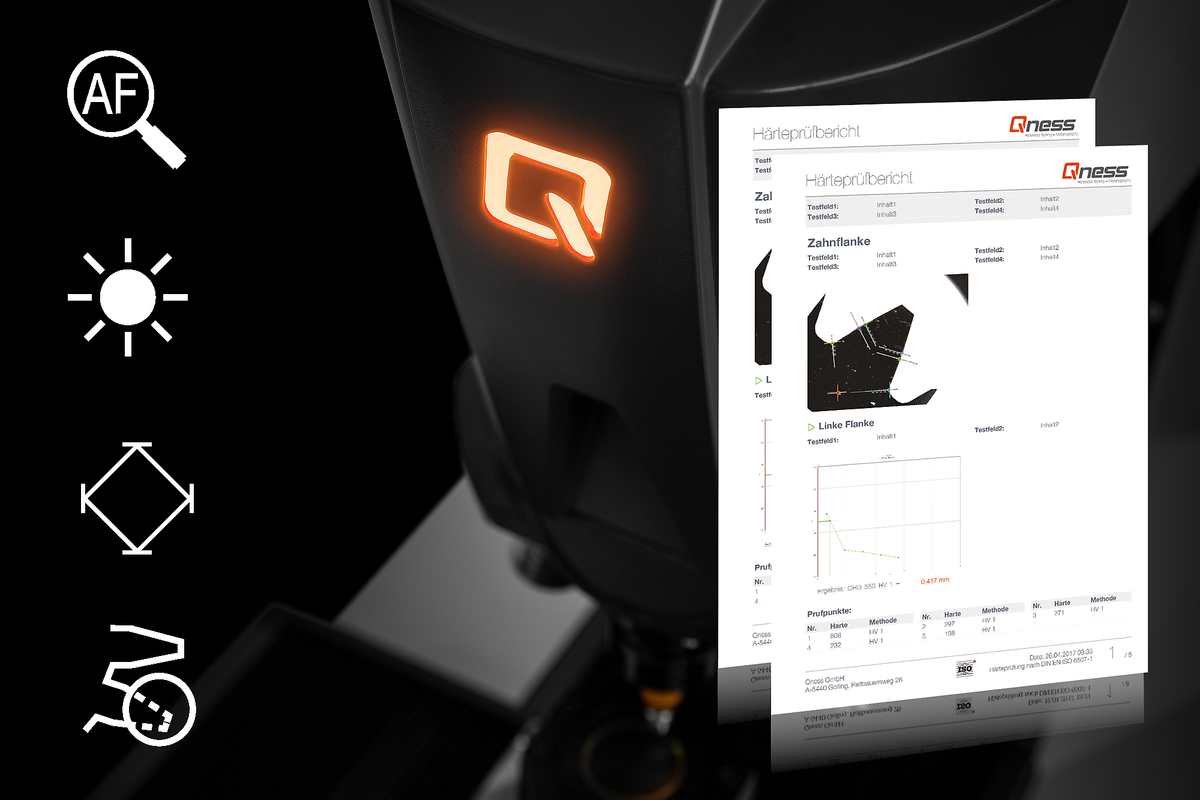
Comprehensive range of basic functions
Several labour-saving features are already included in the QATM base model:
- Optimized autofocus system
- Automatic brightness regulation
- Automatic image evaluation for hardness testing with multiple evaluation modes
- Built-in protocol generator
TEST METHODS AND FORCE APPLICATION
TEST METHODS AND FORCE APPLICATION
 Vickers (DIN EN ISO 6507, ASTM E-384, ASTM E92)
- HV 0.00025*
- HV 0.0005*
- HV 0.001
- HV 0.002
- HV 0.003
- HV 0.005
- HV 0.01
- HV 0.015
- HV 0.02
- HV 0.025
- HV 0.05
- HV 0.1
- HV 0.2
- HV 0.3
- HV 0.5
- HV 1
- HV 2
- HV 2,5*
- HV 3
- HV 5
- HV 10
- HV 20
- HV 30
- HV 50
- HV 60*
 Knoop (DIN EN ISO 4545, ASTM E-384, ASTM E92)
- HK 0.001
- HK 0.002
- HK 0.005
- HK 0.01
- HK 0.015
- HK 0.02
- HK 0.025
- HK 0.05
- HK 0.1
- HK 0.2
- HK 0.3
- HK 0.5
- HK 1
- HK 2
 Brinell (DIN EN ISO 6506, ASTM E-10)
- HBW 1/1
- HBW 1/2.5
- HBW 1/5
- HBW 1/10
- HBW 1/30
- HBW 2.5/6.25
- HBW 2.5/15.625
- HBW 2.5/31.25
- HBW 2.5/62.5
- HBW 5/25
- HBW 5/62.5
Integrated conversions:
DIN EN ISO 18265, DIN EN ISO 50150, ASTM E-140
Hardness tester or microscope Both
Hardness tester or microscope Both

Revolutionary optic system
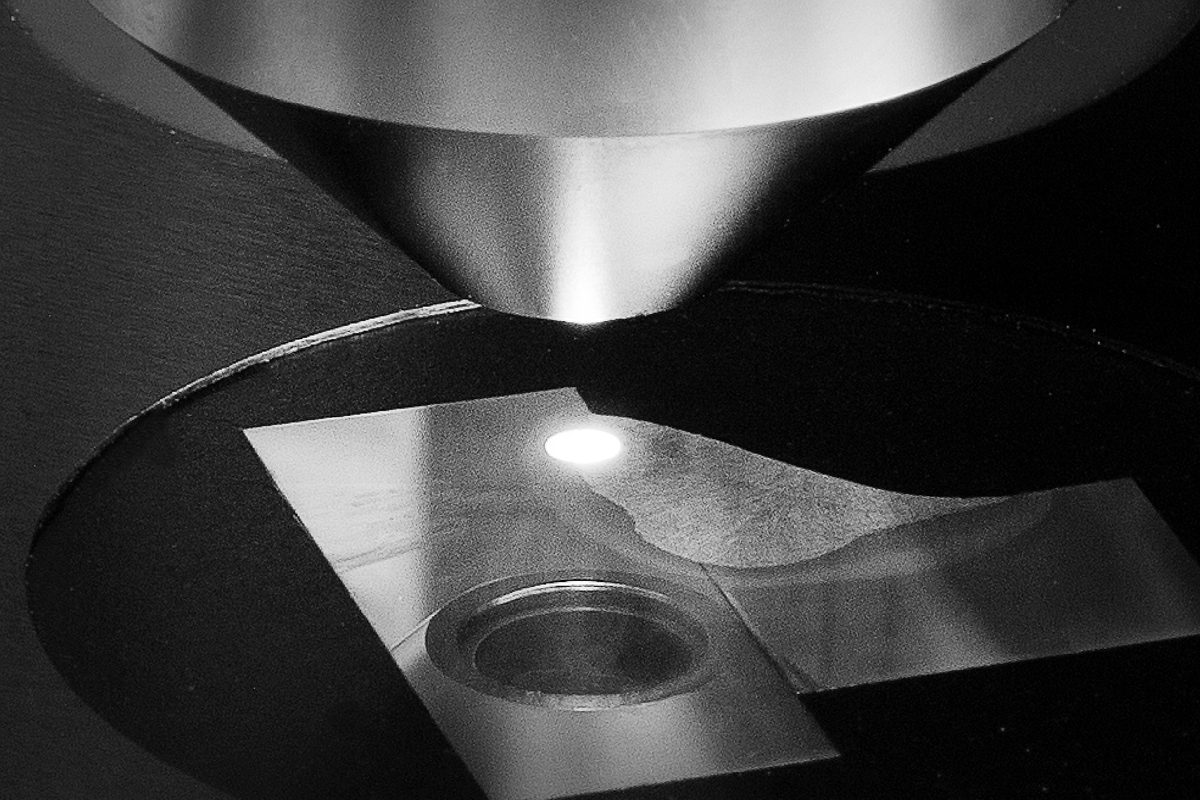
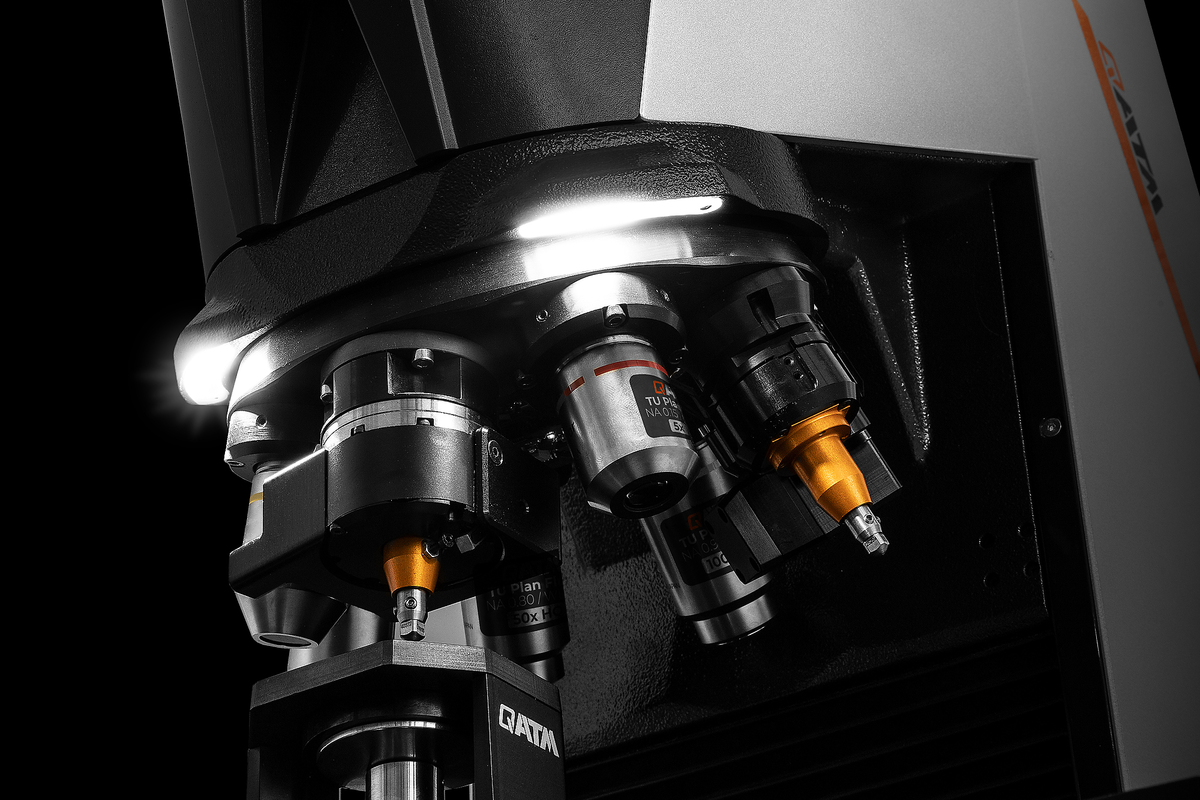
The QATM-developed, in-house manufactured lens system sets new standards. In addition to providing crystal clear image quality for micro hardness testing, Koehler illumination uses white LED light and motor-operated aperture shuttering to produce ideal contrast, even for high magnification images. The color-corrected high-quality lens series is used for structural analysis. There are also two camera systems to choose from.
Experienced metallurgists agree the image quality provided by the Vickers / Knoop / Brinell hardness tester Qness 60 EVO is comparable in all aspects with that of established sophisticated microscopes. The up-to-date concept and new lenses in the optic system enable the device to completely meet even the strictest physical ‘test system definition’ requirements in compliance with DIN EN ISO6507-1/2:2018.

8-Position tool changer
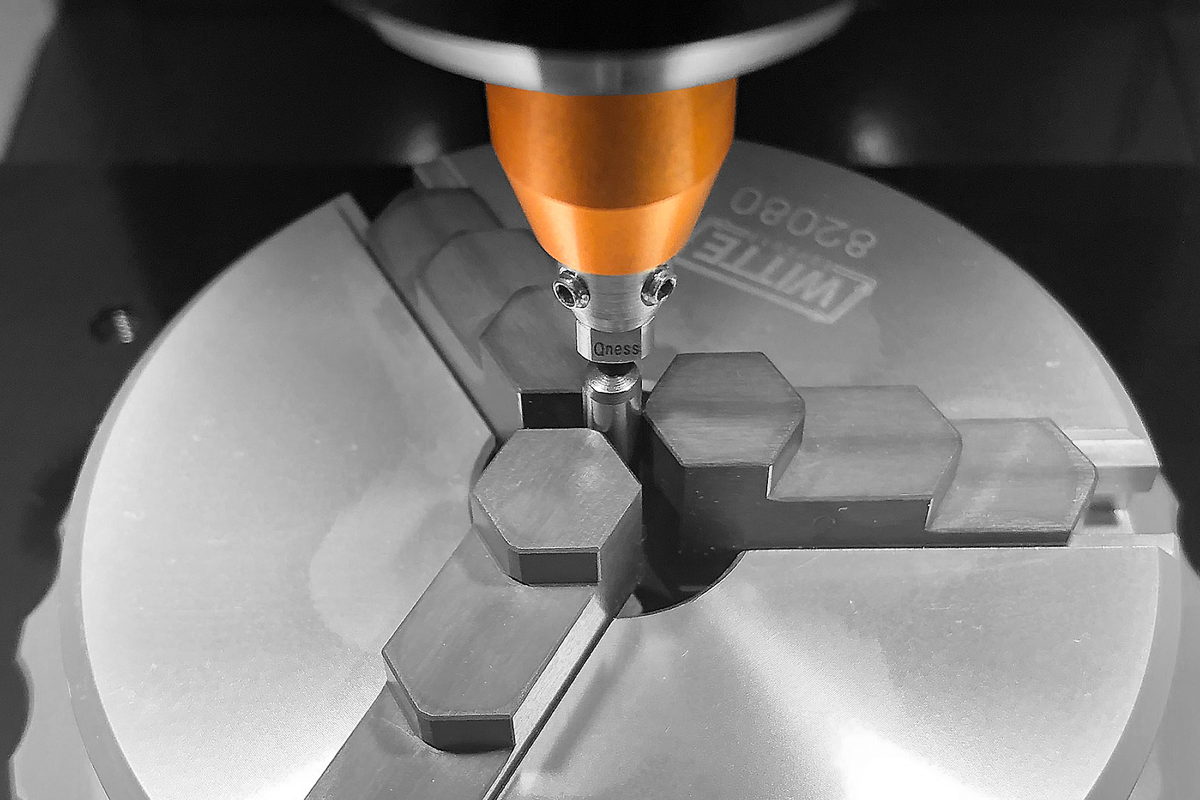
Up to 8 different test diamonds or lenses can be mounted to the ultra-modern turret of the Vickers / Knoop / Brinell hardness tester. The compact structure is angled at 20° to guarantee excellent test room visibility.
Highlight: The newly developed hardness testing modules serve as modular indenter holders enabling plug-and-play retrofitting of Brinell and Knoop test equipment at any time after delivery.

Interactive software for all versions
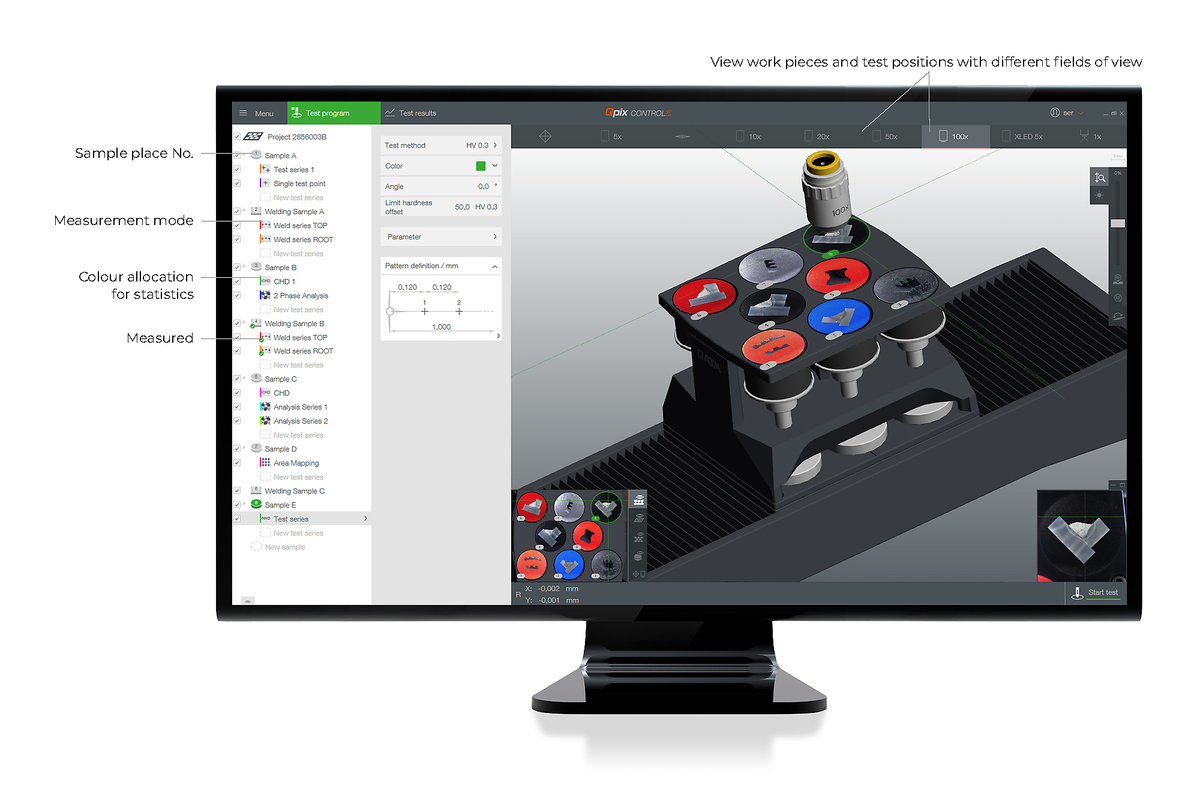
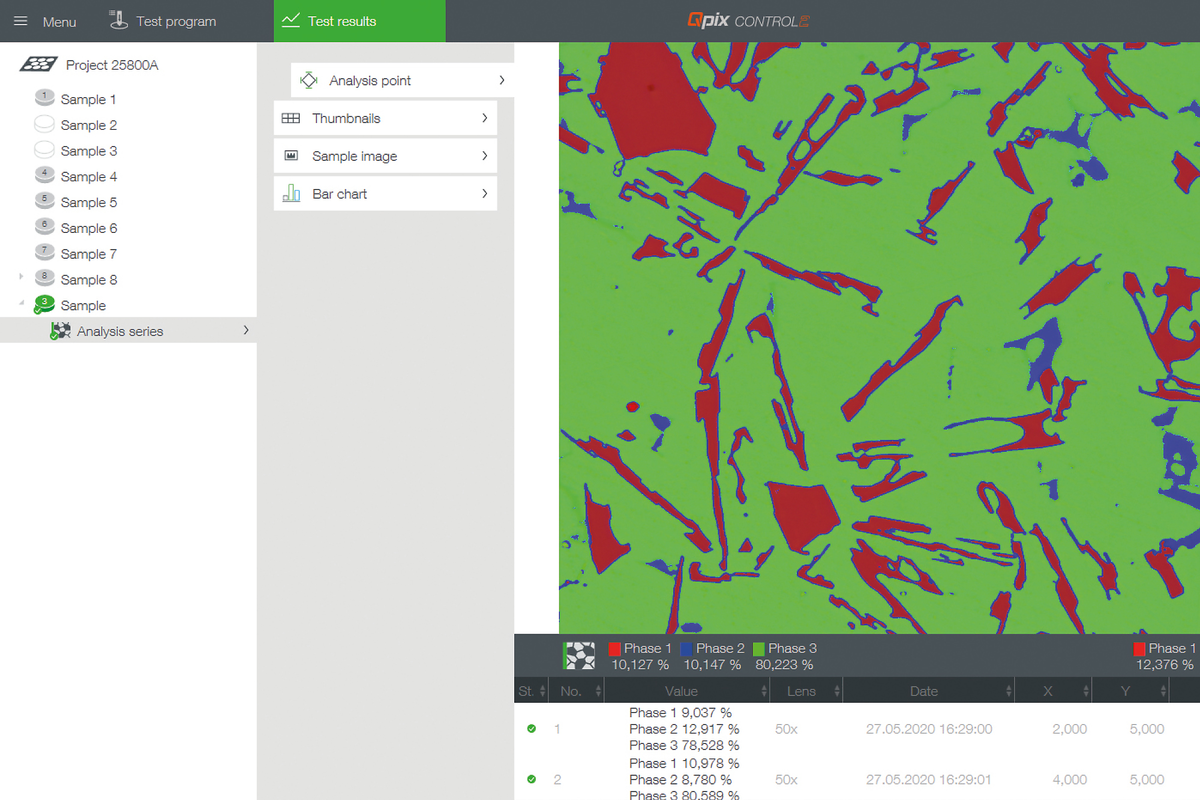
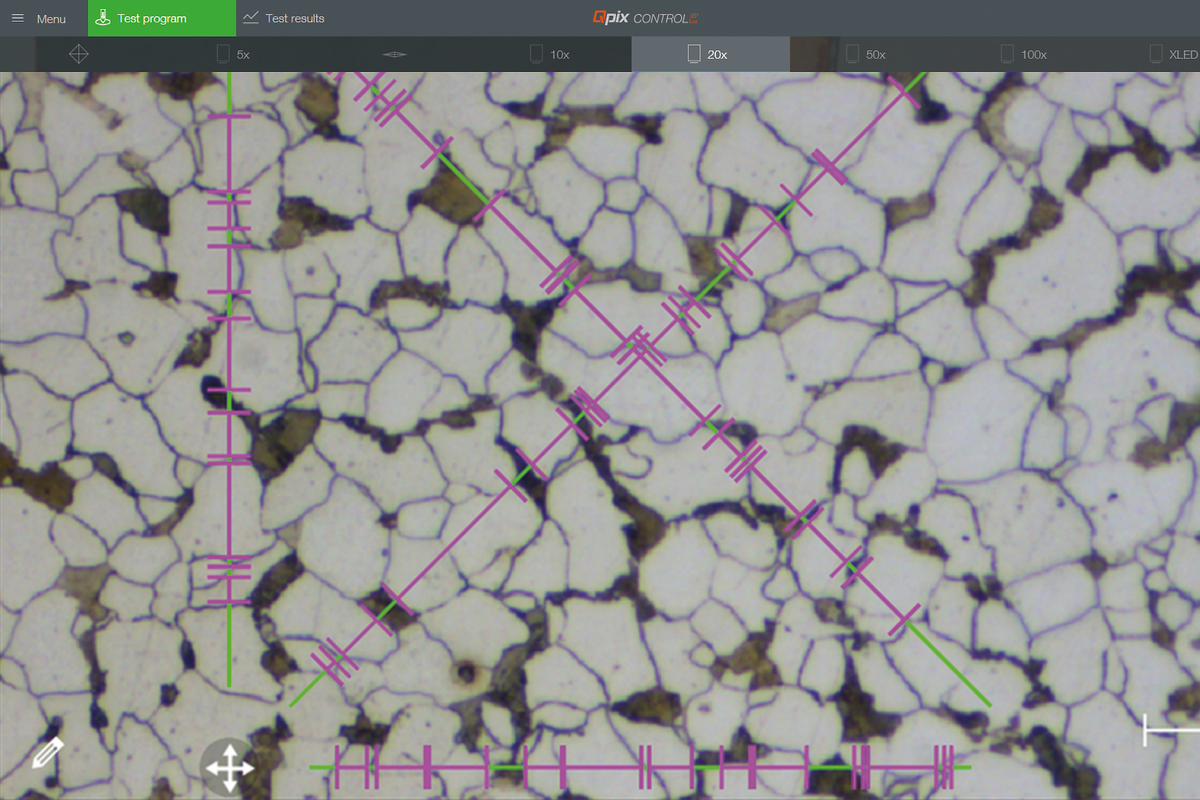
Qpix Control2 is pioneering the ultra-modern software operation of hardness testing equipment and has been expanded to include intelligent measurement tools for lengths and angles. It’s ideal for establishing templates, and now also for the testing of welds (A/A+ models). In addition, the optional INSPECT modules can be seamlessly integrated into the overall operating infrastructure:
- Phase analysis
- Layer thickness measurement
- Grain size evaluation
The best of two worlds - in a single device
The best of two worlds – in a single device

Maximum versatility
Unsurpassed in single-piece testing and limited series tests on items of all sizes: Simple operability and optional additions for microscopy make QATM Qness 60 M EVO a unique, high-quality, all-round package.

Digital cross slide with data feedback
Enables serial predefinition of test programs with fixed numbers of test points. If required, also with a manual slide, digital micrometer spindle and positional return – as used for manual CHD progressions.

Test space lightning
All devices are equipped with the new LED work space lighting: Simplified positioning of samples for single-piece tests.
QPIX Control2 M Software
The intuitive Qpix Control2 M-Version software is included with each Vickers / Knoop / Brinell hardness tester Qness 60 M EVO to provide sophisticated functionality tailored to the requirements of semi-automatic hardness testing devices. Clearly organized batch management and the effective use of templates from a broad span of testing projects, test result structuring and a complete range of background project information. The easily-generated templates include all the required information on test patterns, test methods, item names and user field details.
Qpix inspect software modules
Qpix inspect software modules
The intuitive and user-friendly Qpix INSPECT software functionality provides a comprehensive toolbox for microscopic evaluations and result documentation. It can be customized for customer-specific measuring tasks and complemented with add-on modules.

Inspect phase analysis
- Automatic image object dimensioning
- Evaluation of phase fractions according to ISO 9042 and ASTM E562
- Provides analytics results as percentage proportions of a surface or as nominal surface values as tables or diagrams

Inspect layer thickness measurement
- Determination of layer thickness according to DIN EN ISO 1463
- Semi-automated gauging of horizontal, vertical and radial layers.
- Provision of layer thickness as statistical values for lengths as tables or diagrams.

Inspect particle size determination
- Particle size determined according to DIN EN ISO 643 and ASTM E112 via linear or circular section method
- Results of the analysis provided as tables or diagrams
- Documentation of statistical characteristics of particle size and segment lengths cutting through the particles
Accessories and individual configurations
Accessories and individual configurations

Lab tables
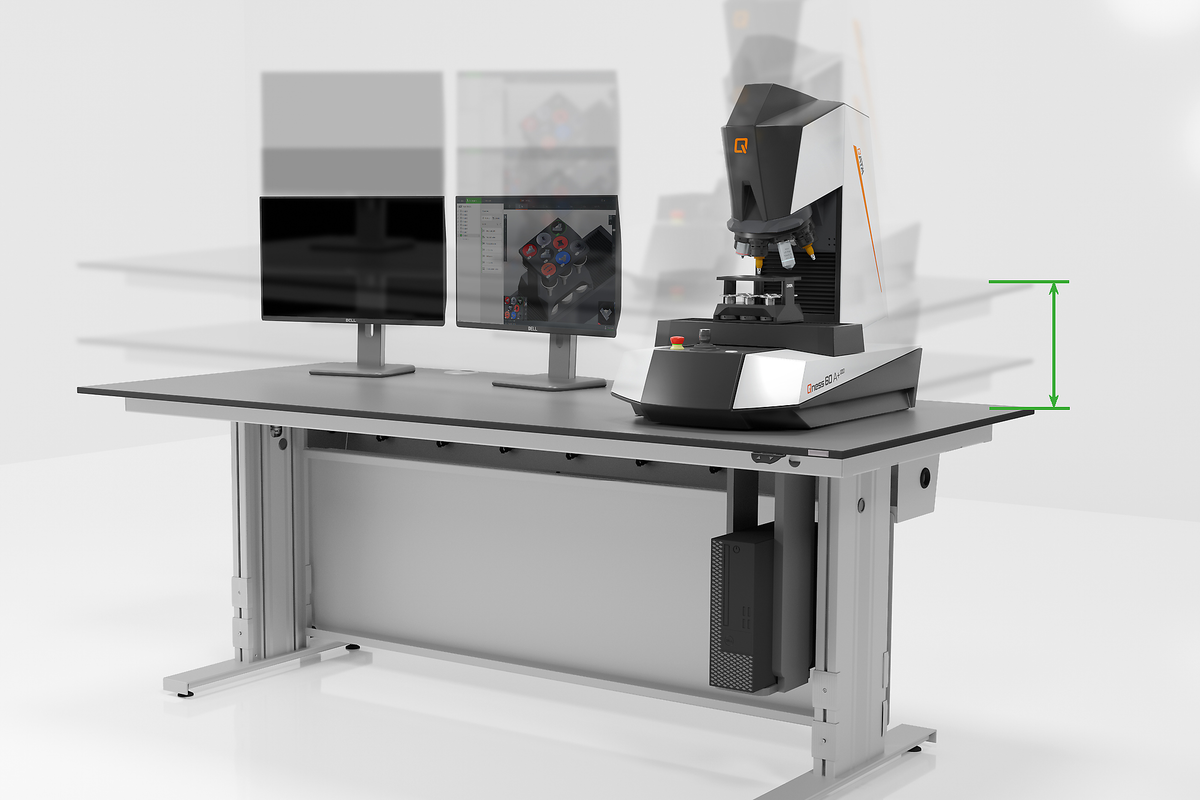
Configure and optimize your lab workplace with solutions from the comprehensive QATM lab furniture range.
Highlight: The extremely resilient QATM work table with electrically-driven height adjustment is ergonomically adapted for use with the according hardness tester as well as up to 2 monitors and offers built-in cable management.

Premium hardness test blocks
Premium quality in comprehensive variety. Independent DAkkS (ISO/IEC 17025) calibration according to DIN EN ISO and ASTM including software for periodic norm-compliant tests.




 Brinell (DIN EN ISO 6506, ASTM E-10)